2nd Aug 2024
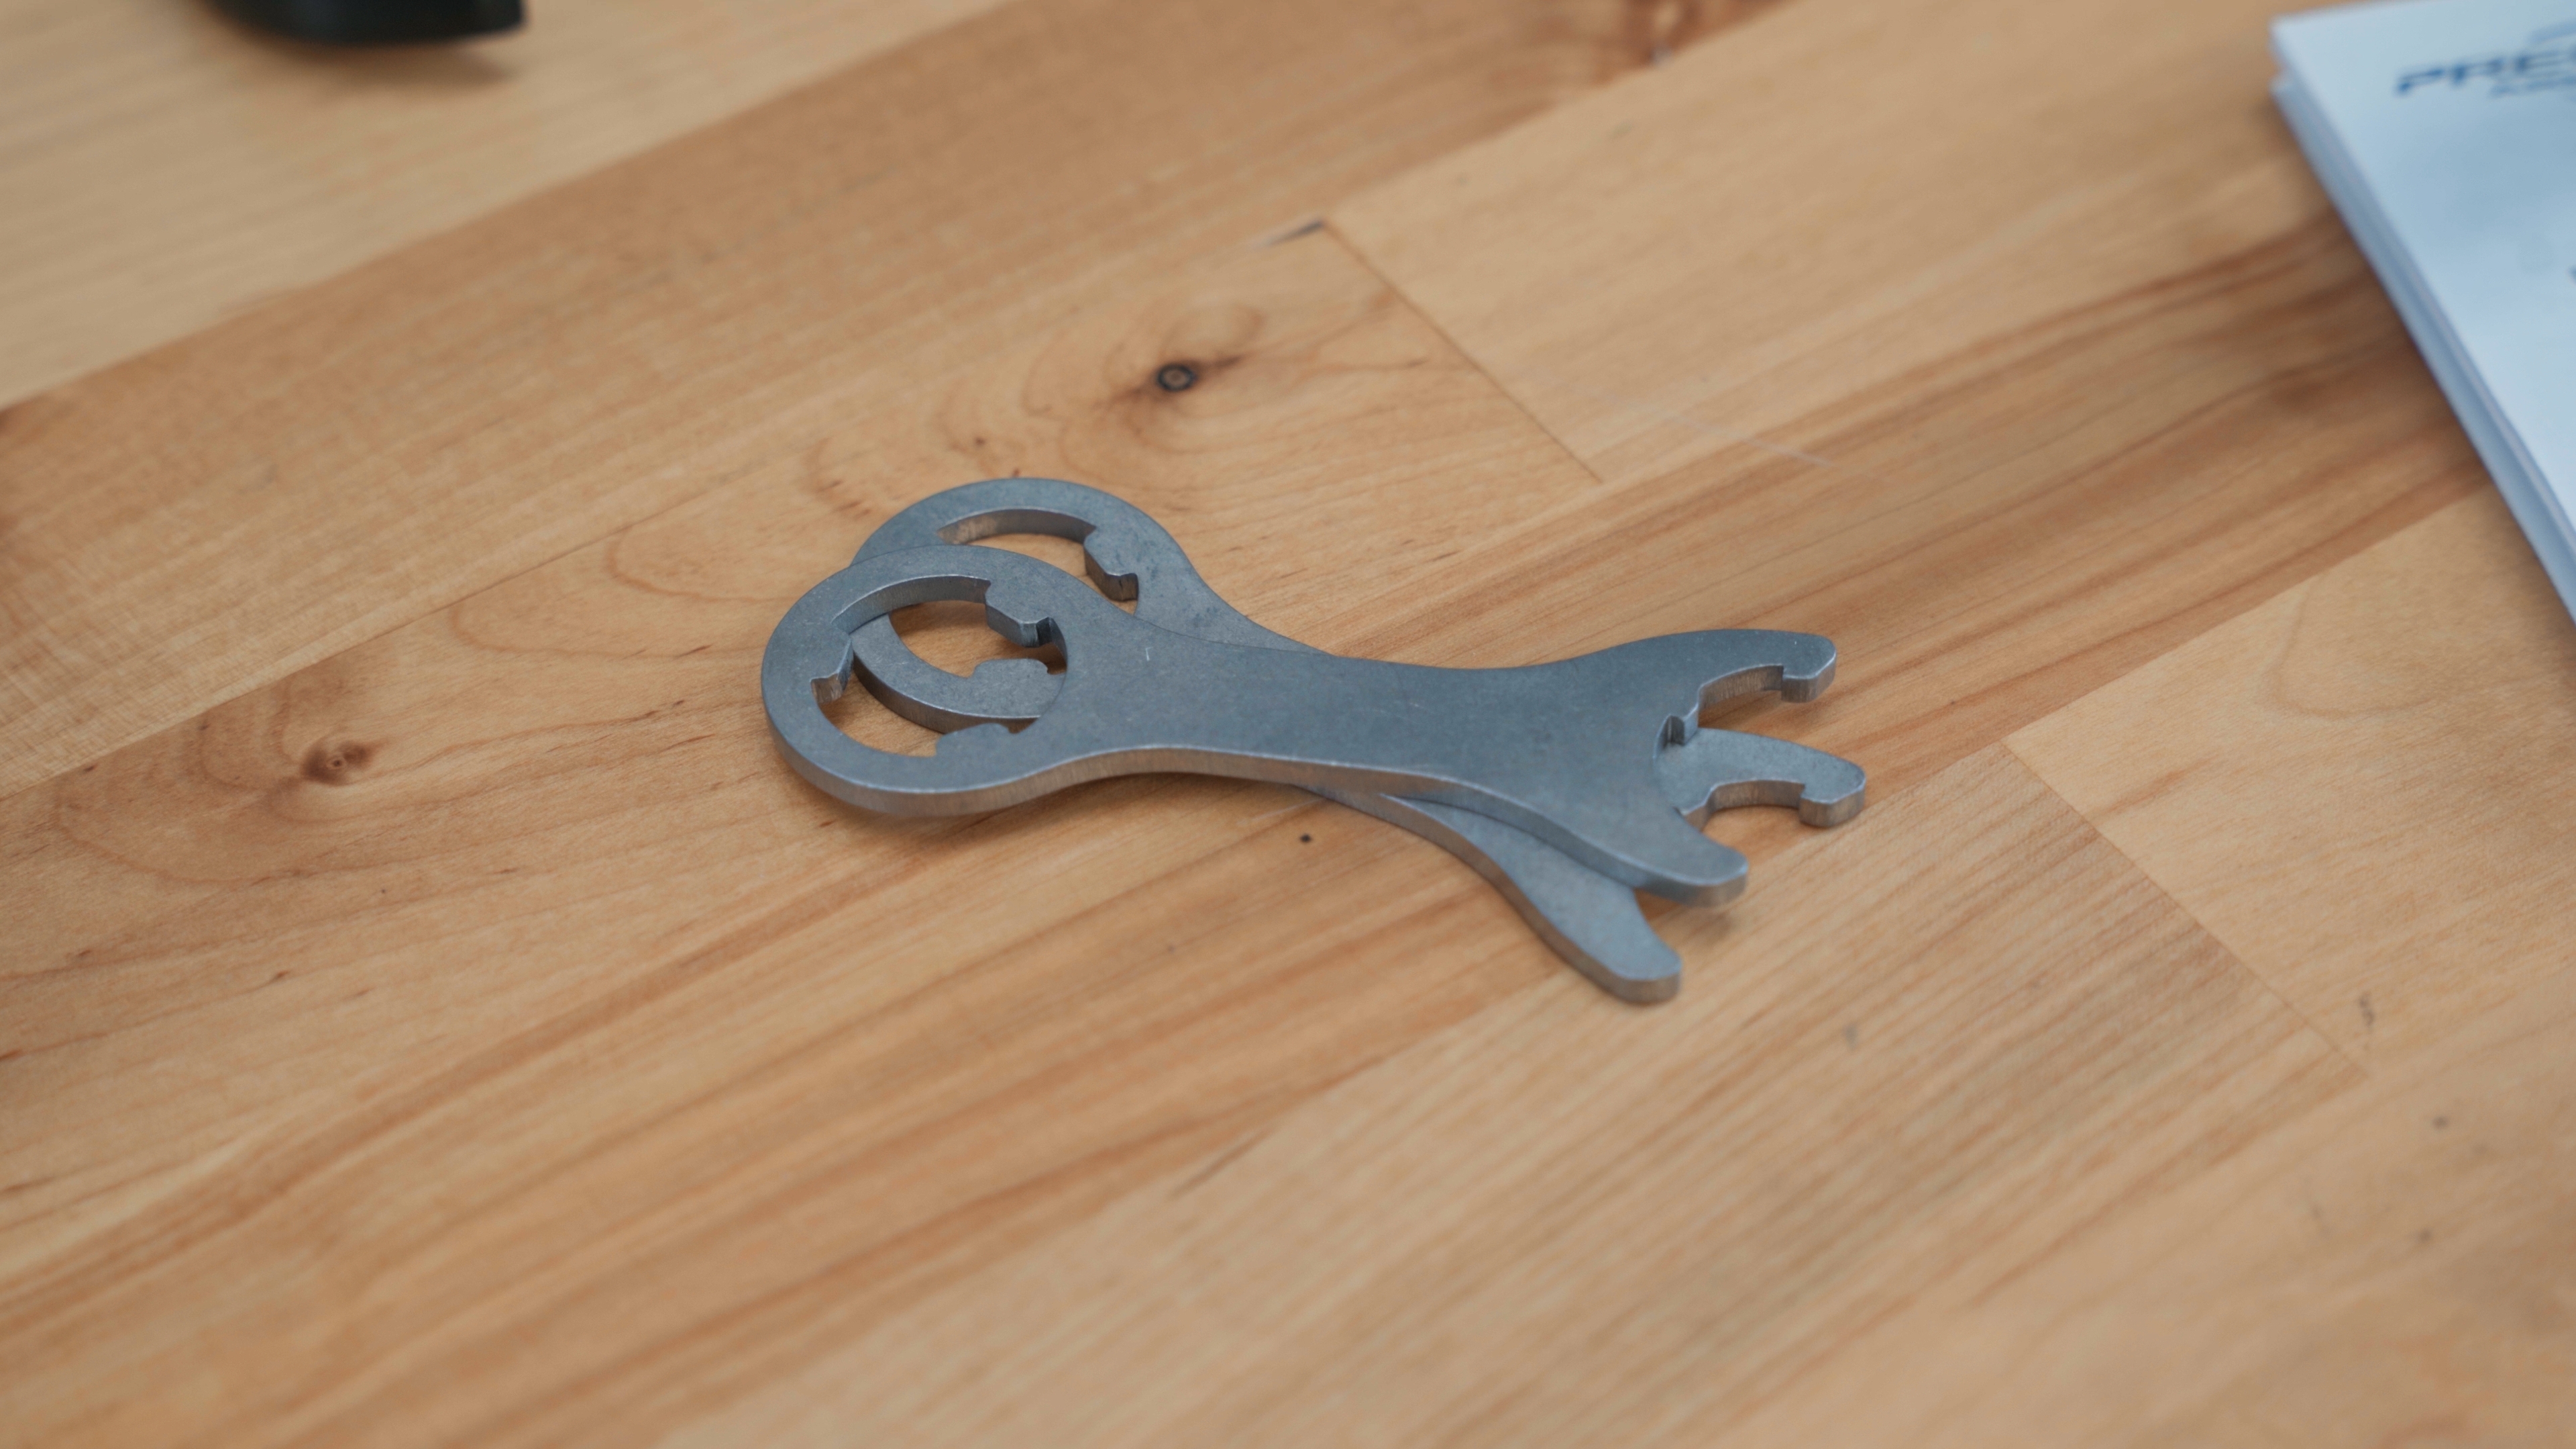
On the outside we have the caliber and the threads, and it's a really good idea to double check that you have the right product before you get started. Inside, you'll find a set of instructions to walk you through the process step by step. You have a set of spanner wrenches, they're nice and compact and really great to keep in your kit with you, and then you have your Hypertap Muzzle Brake.

The Muzzle Brake does have a locking nut on the back, and it is left-handed thread. That was done on purpose so that when you're installing your brake, you do not need to put your gun in a vice or lock down the firearm. You can actually do it on a table like this with the two wrenches, and when you lock it down and get your proper torque, the rifle will pretty much stay in position. So installing the brake, we want to make sure that our threads are clean of all debris. It's a good idea to take a brush and brush them out or wipe them down.

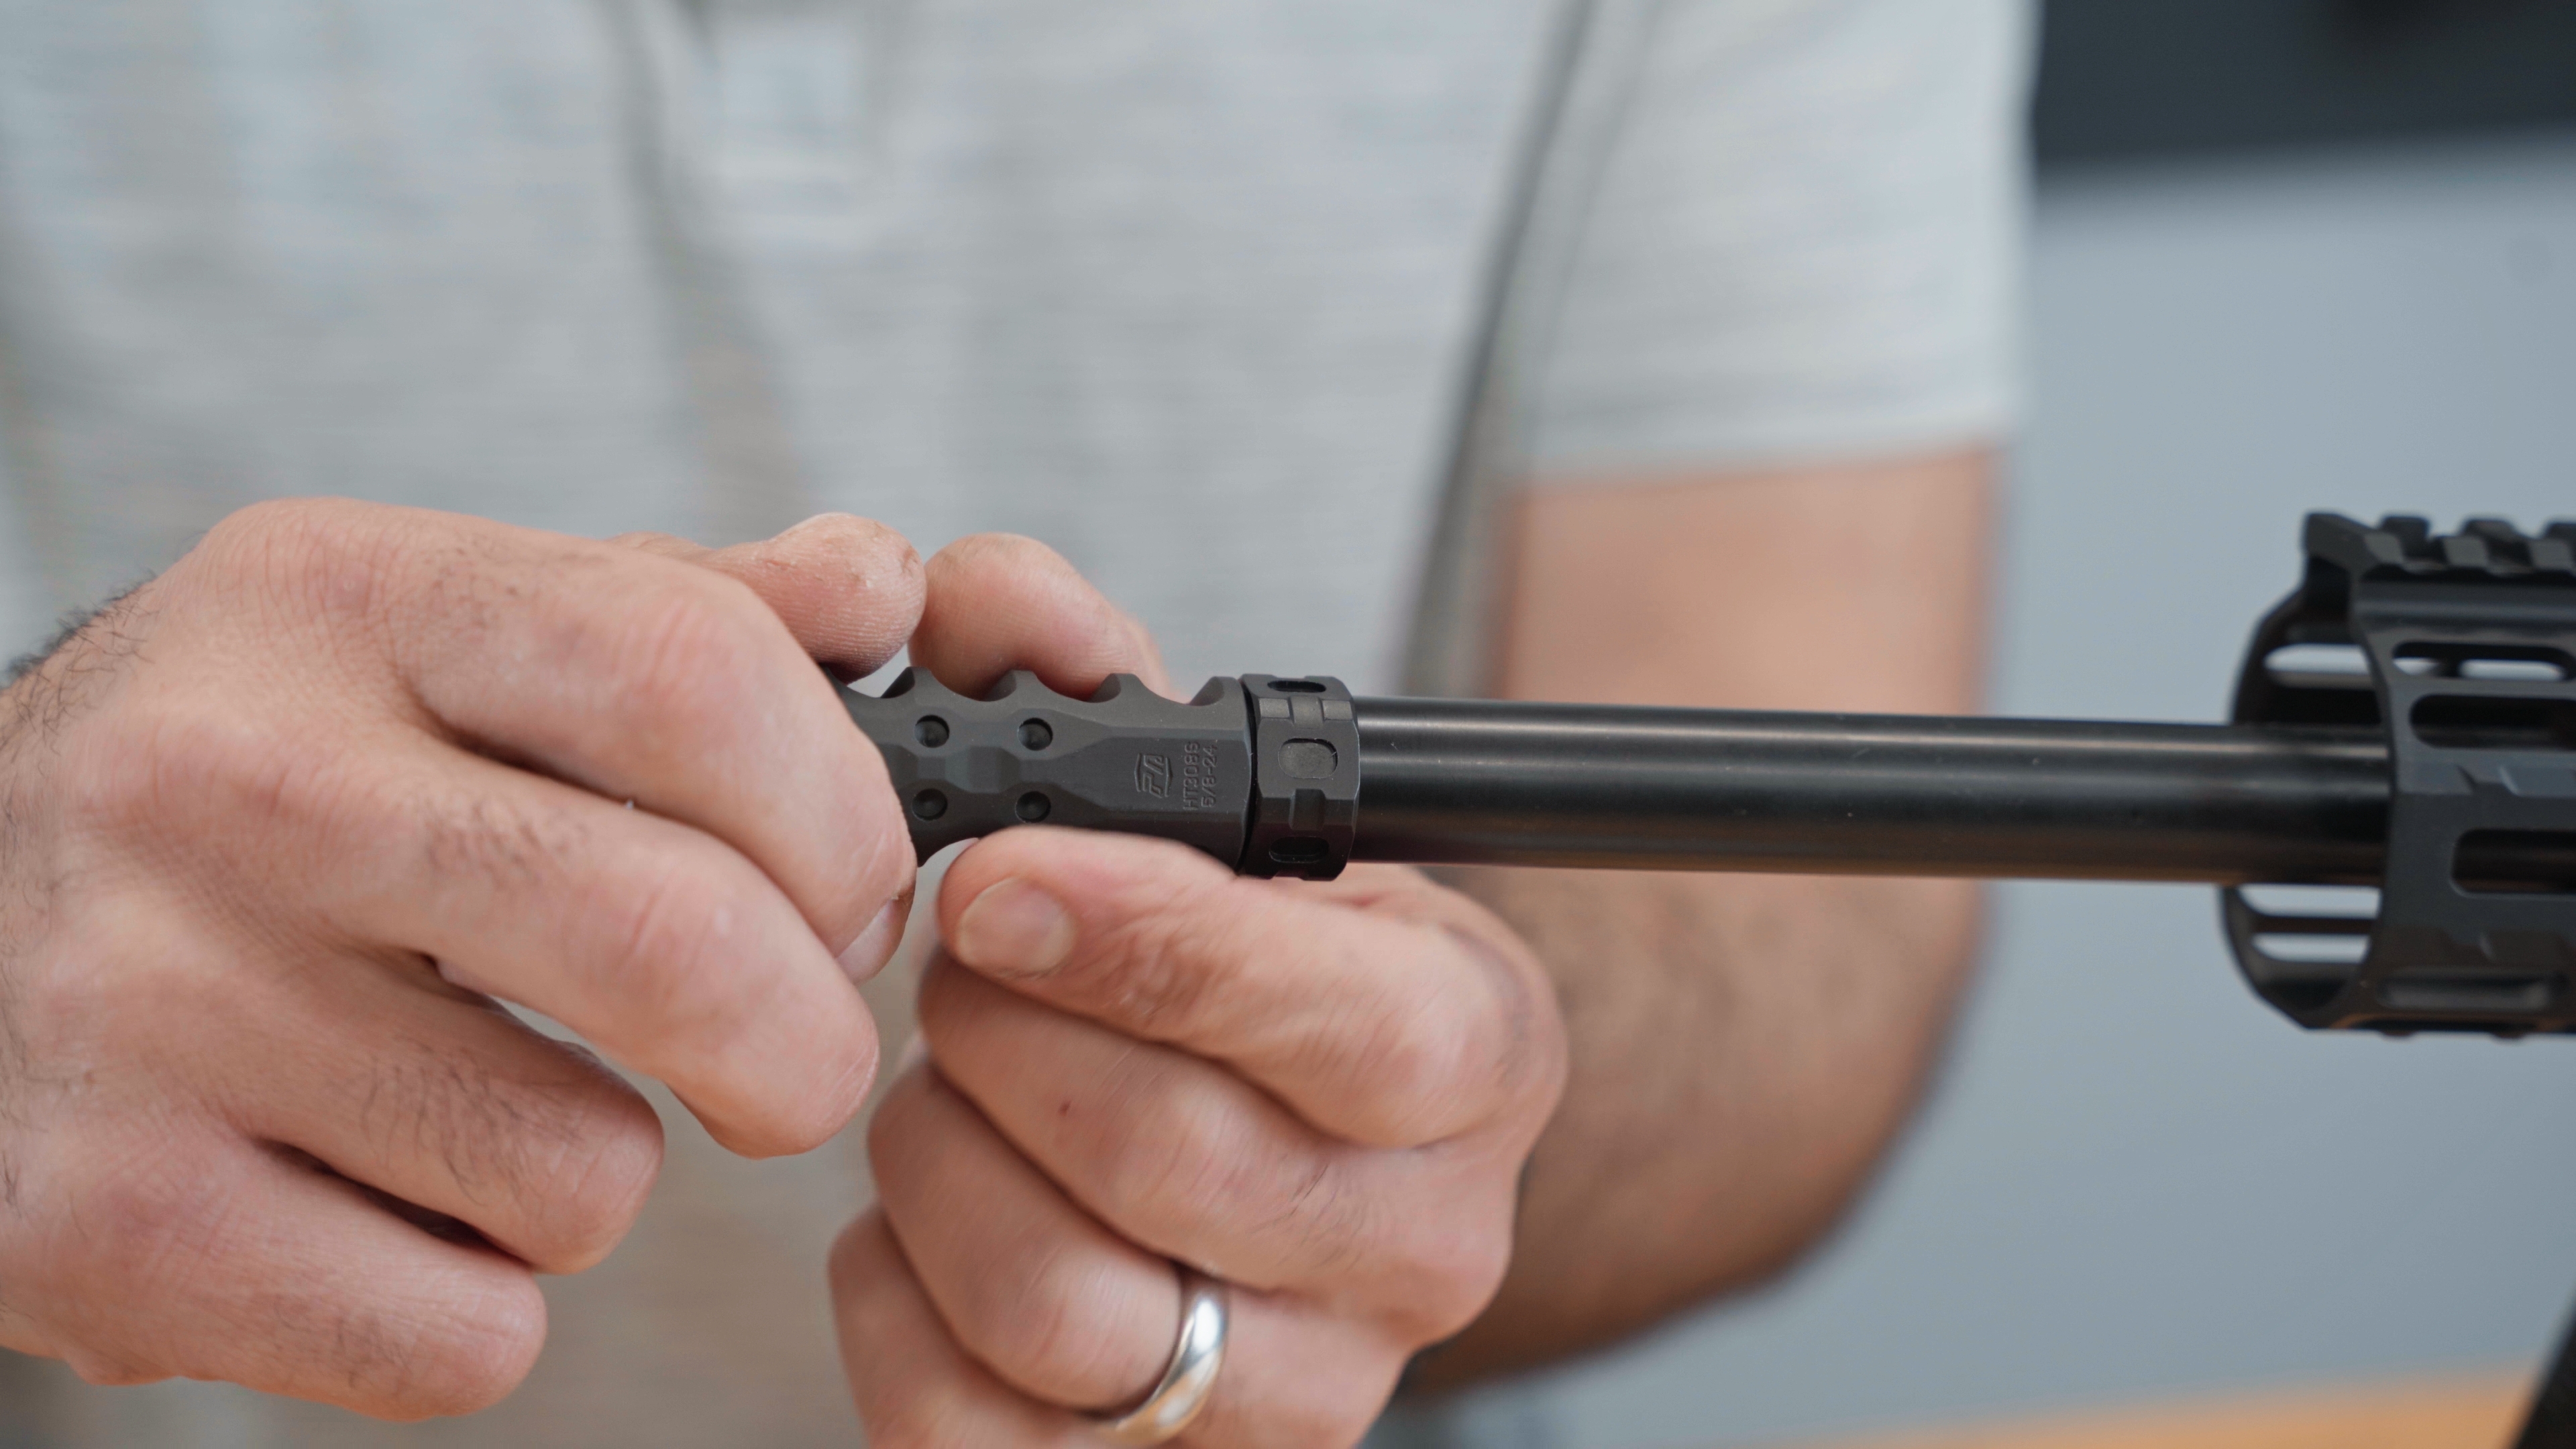
So we're going to start by taking the nut and tightening it up against the body of the brake, and then we're going to go ahead and thread it on until the brake hits the shoulder of the barrel. Now, once it hits the shoulder, we're going to back it out to the point where you have a flat that's facing up and the ports are off to the sides. This brake is perfectly symmetrical, so it can be installed so the logo is up or the logo is down, and there is one exception to that in our product line.
We have a .450 Hypertap, and it is drilled for compensation. That one has to go so that the logo is up. These other ones you can install either way. For us, with the locking nut tightened up to the body and the brake all the way up against the shoulder, we're just passed logo up. That's the install we're going to do today. So, what we're going to do is we're going to back the brake out so that the flat is up. We're going to take one of our spanner wrenches. We're going to lock it onto the front, and then we're going to go ahead and hold both of those together. We're going to take this locking nut, and we're going to rotate it until it hits the shoulder of the barrel. Then we take our wrench, and we lock it down by holding the brake in position and rotating that locking nut down to the point where it's pressing up against the shoulder. And then we're installed.

For more permanent installation, we recommend using an adjustable wrench. The top and the bottom of the brake body do have machine flats and the locking nut as well. So, the installation is going to be the same as it was with the spanner wrenches, where you're going to take the locking nut, put it up against the body of the brake, tighten it up; in our case with the logo up, and then we're going to back the locking nut up against the shoulder. Then, we take our two wrenches, one will go on the brake body, and the other one will go on the nut. And then we're going to hold the brake in position, and we're going to lock down on the locking nut, and there we go. We're installed.
Now, if you're concerned about putting steel against your muzzle brake and marring the finish, one little trick is we can take sheets of paper, fold the paper in half, and then we can go ahead and put that over the brake body, and then install your wrench back on there. And that way, you're not getting metal-to-metal contact. And you shouldn't have any issues with scratching it. We do the same thing for the brake and the nut. I'm going to break this loose, okay, so we're loose again, and we're going to get the flat timed, holding the brake body, and now we're going to go ahead and lock down on the nut again like that. So now we are installed. And we have paper in there, so we didn't run the risk of scratching anything, if that's a concern of yours.
One other thing is, we do sell Rocksett on our website, and that can be installed onto the muzzle threads. We do not recommend putting Rocksett on the locking nut to the brake, so only put Rocksett on the muzzle threads. Thanks for watching the video today. If you have any more questions, feel free to call, email, or leave a comment below, and we'll get you squared away.

Shop these products: